In previous blog posts we shed light on the usage of our 3D printer in our manufacturing department. But it is of course also meant to aid our development.
What comes to mind first is the housing or other elements for printed circuit boards into which electronic assemblies are pushed.
We proceeded precisely in the opposite way with our 3D printer.
Initial assessment
In the wake of the discontinuation of a housing we opted to redesign our compact level converters 1 U wide. The motif was not exclusively the housing, but it also paved the way to benefit from known optimization potential and assure improved robustness. Further, spring connection technology can then be used.
Classical redesign
A redesign can be prompted by diverse causes. Insufficient supply of components, discontinuations, errors in the design or simply the exploitation of possibilities for optimisation. In general, one strives to implement the majority or to simply modify the most relevant aspects.
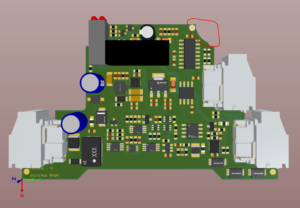
This is how we proceeded here. The prior design was largely retained. It goes without saying that we had to adapt the mechanics, that is the shape of the assemblies and their positioning, to the new housing. The electronic circuitry remained almost unaltered.

prior

new shape factor
After fixing the new contour of the printed circuit board we had to arrange the components. Skills were in demand as the new housing offers a bit less space than the prior one. But we have expertise to pack components densely. The new design was thus created in a short time only.
Retaining the circuitry, we renounced on an electronic prototype as the risk was minimal that an error had slipped in. But does the new component really fit into the new housing?
This is the potential risk. And so we opted for a 3D print of the assembly.
Printing the assembly
Thanks to our development tool, we have 3D models of all assemblies. So lets crank up the 3D printer.
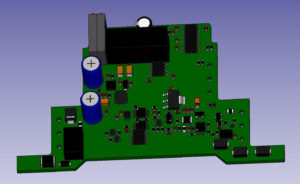
3D model in the CAD software

3D model as software in Cura
The 3D print was achieved within approximately three hours. This is significantly faster than ordering a printed circuit board, purchasing components and populating a prototype.
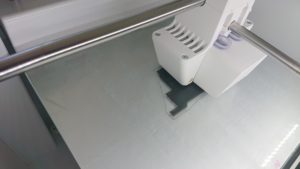
Assembly in 3D printing
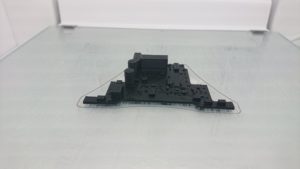
The result was promising. The print reproduced the assembly and the components quite well. The comparison with a real-life prior assembly confirmed the impression: printing is well suited as a mechanical model.
Verifying the mechanics
First, we checked if the connectors and terminals fit. We simply put the connectors into the bores of the printed assembly. And indeed, all fits together. Enough space was left for the components.
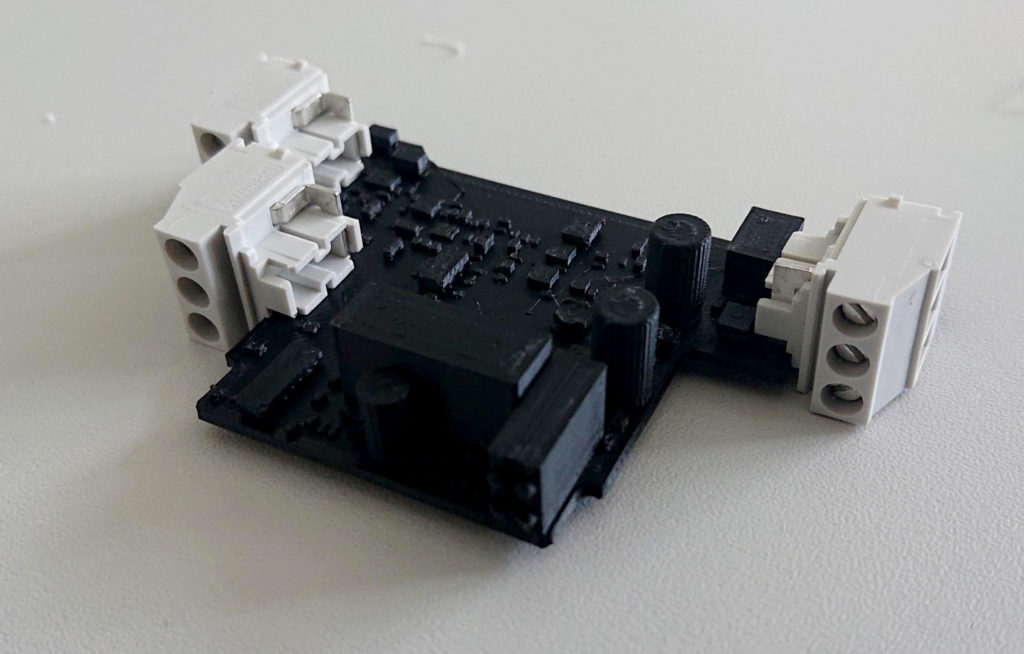
Printed assembly with attached connectors
We proceed to the second step. Does the assembly fit into the housing? Our development tool predicted yes, but in real life, with all corners and noses on the printed circuit board and the housing? The printed assembly along with its attached connectors was inserted into the housing. It fits snugly.

Printed assembly in the housing
At least at first sight. The housing features a hinged front. This fold function is not used, but it simplifies mounting. The shape of the printed circuit board prohibits using the fold function. An edge of the printed circuit board extends beyond the radius of the housing front. This escaped us in the development tool as the front was kept closed there. This proves that printing was commendable.
The perturbing edge of the printed circuit board was then modified in the design. Enough space was available.
finale design of the assembly
Conclusion
The verification on a real 3D model permitted us to detect an imprecision in the mechanical design prior to launching the production of an electronic assembly. The error would have gone unnoticed in the product, but the mounting would have been more intricate.
We circumvented this by benefiting from our 3D printer and no additional design cycle was required after the initial population. We were thus able to significantly reduce the typical time spent on developing.

